Dear All – Welcome back to my site to check and learn more about controllers and different Drone configurations.
Fact 1- I am not an expert on Drone Flying. Flying requires time and practice. I have not really mastered Acro Mode. In Acro even gravity might change. As said I am just learning. But I can tell you that besides NAZA I have nearly tried every control board or even Flashing my own ESC’s. (Many still think ESC is something you buy from the shop and that is it)
1- MultiWii : I use 2.3 version. It is hard to configure if you do not know what you are doning. Not enough documentetion about details. Baro mode is not very stable. You must use it once you are high in the air. Otherwise you break too may propellers. I do not know why they do not integrate better height control to make life easier for dummies like myself. I have just noticed there are such ultrasonic sound detectors but I did not want to lose an other 2 weeks to make it work. I advise you to practice your flying skills. By time you ask for less automation. Beleive me….
If you want to save many weeks here is the list to follow
step by step activation of HK Multiwii board
1. Download and unzip the required software:
-Arduino Compiler and Board Flashing Environment:
http://arduino.cc/en/Main/Software
I am using arduino-1.0.5-r2 version
2- Multiwii arduino codes.
https://multiwii.googlecode.com/files
I am using multiwii 2.3
copy the folder to
mydocuments folder (this is the folder created by aurduino install)
\Documents\Arduino
3. Install driver: HK ardupilot driver file
CP210x_VCP_Windows
Since my system is x64 I used that exe file
4. Plug the USB and system will properly find the driver.
5. go to your install directory and run \arduino\arduino-1.0.5-r2 arduino.exe
6. sellect the installed com port of multiwii and sellect board (both under tools menu of arduino.exe)
7. file – examples – eeprom clear – Upload to clear multiwii
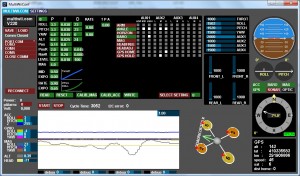
8.Run \Arduino\MultiWiiConf\application.windows32 MultiWiiConf.exe (dont ask me why 64 bit is not working)
9. Make changes in the config.h tab in arduino.exe which has the multiwii dev files open
just delete // lines to make the code line active
#define FFIMUv2
#define GPS_SERIAL 2
#define GPS_BAUD 57600 (if you have this 115200 IT will not work. the ducumentation has this error!)
#define NMEA
#define INIT_MTK_GPS
10. try PID settings – system not stable
trying
comment out
#define ITG3200_LPF_42HZ
#define MMGYRO 10
#define MMGYROVECTORLENGTH 15
10. Yaw servo will not work
You must comment
for version v2.3 that we loaded
Commented out #define MEGA_HW_PWM_SERVOS
11. Servo was in wrong direction “reversed the servo with multiwiiconf.exe
12. I did not like the tailservo tilting during arming the board. It was touching the grass if you were to lift from grass.
//#define ALLOW_ARM_DISARM_VIA_TX_YAW
#define ALLOW_ARM_DISARM_VIA_TX_ROLL
13. Before disarming the board the motors were not stopping. It was a bit dangerious
#define MOTOR_STOP
I uncommented this line. Now no motor turns are available.
14. I will recalibrate acc and magnotometer now. (with stict combinations)
Click to access 463565377X19082X13.pdf
Click to access 45419435X921333X39.pdf
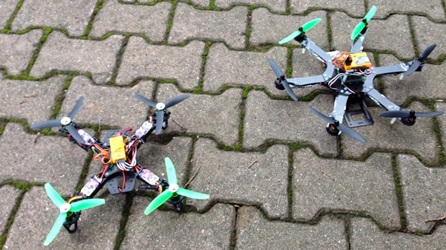
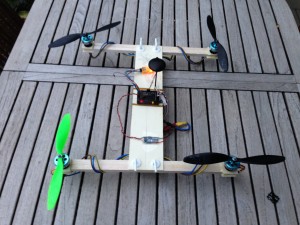
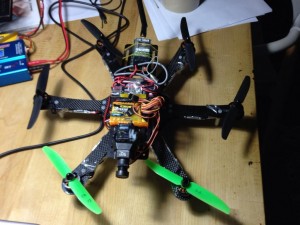
Here is the end product. Frame is Home made. You can un screw and pack it really small. It has also GPS
What about FPV – There you are…
Hexacopter power consumption settings
Alarm adjusted to 3.5 V per cell gives %80 alarm. 750-800 mah consumption with 35gr camera mounted.
4.5 Min Flight with the camera on needs 720 mah. I landed before the alarm got on.
ie the flight time with the camera on and 1000mah battery is about 6-7 min safe.
And some videos on You tube


Çok güzelmiş! Hangisi sence daha iyi?
Slm
Nazik yorumun için tşk. Hepsi güzel ama ben Hexacopteri daha cok seviyorum. Demonte edip Y3 formuna getirebiliyorsun. Ama çok onemli değil. Hepsi güzel. Kucuk olması kolay taşınmasını ve kucukpil kullanılmasını imkanlı kılıyor. Tşk