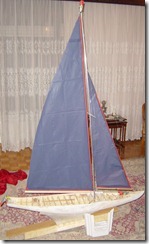
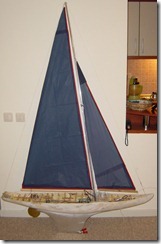
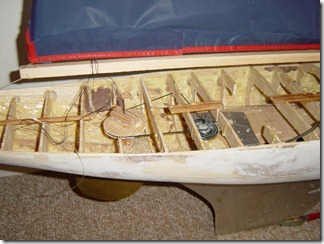
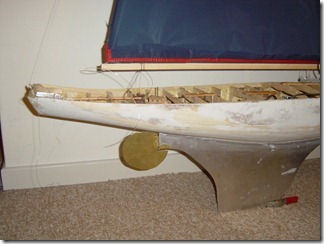
First Lets see the final video. After months of tough work this is what you get. It is a 70 sec video but is is a 75 year journey with a 6 months of realisation.
Things Learned and Should be careful before moving into such a turmoil.
1- Choose a good technical design, Make sure it worth the time and effort because once into it is hard to walk out. You can not down scale a real sail boat. The performance will not be the same. Be careful. (If you ever had a fluid dynamics course you would know what I mean.)
2- Make sure the project that you are moving in will not be overwhelming. Before starting the project I have showed the layouts to a model yacht guru in Turkey. He was a quite old man with great years of experience in model building. After seeing the design he asked two simple questions. “Have you ever build a model boat?” Answer is NO. “Do you have patience?” I was puzzled. He continued … “It will take you more or less a year to build it.” (it took me 6+ months and if I were to re-build it I would not hurry as much as I did. He was right in spot) “this is the hardest model you can ever find. It is dynamic (It is designed to really sail). It is made of Aluminium which is not possible to solder. (I had not noticed it in the first sight. I Just realized the meaning on the way)
3- Never start a project if you do not know why you want to finalize it. Know the difference btw “making it” and “not making it”
4- Be sure to have enough room to run the show. I used a balcony. It was painful for the neighbors and the dust was just about to stop the show. By working carefully you can minimize the sanding process which causes the fine grained dust. “Closing the door will not stop/prevent the dust”
5- Most of it is Material Science, Physics, mechanical work. (forget about it. It is just patience)
6- Have a pace not a speed. You can not do it in sprints. Most of the time making it fast does not mean making it at all. (I had to rebuild some parts again and again) Stick to the plan. Short cuts must be designed on the plan, not on the fly. Everything done on the fly will end up in dead ends. (If you are a guru you can see the short cuts in day one. If you are not able to see it in day one re-think what you are changing)
Final words: I learned, experienced and enjoyed. (I prob know more glue types than any boat builder. Their advantages and disadvantages. I had seen radical mistakes in real life sailing projects)
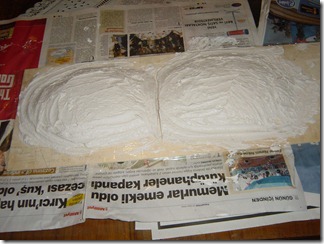
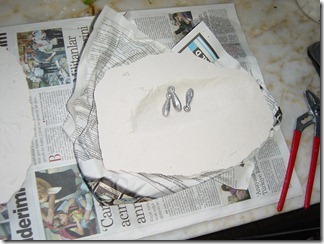
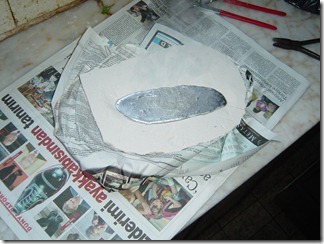
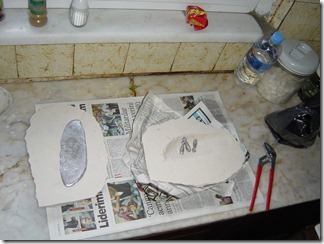
Some Tooling to make your life easier. Not required but might save time.
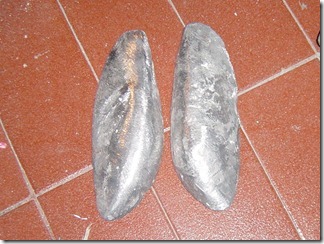
Keel Lead weights.
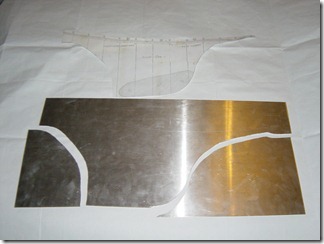
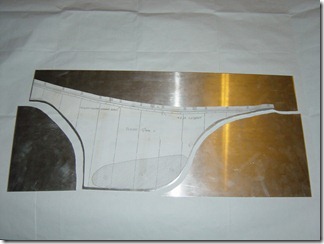
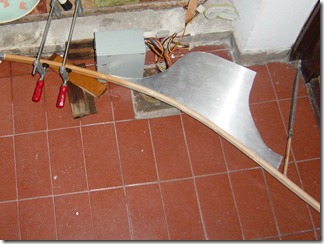
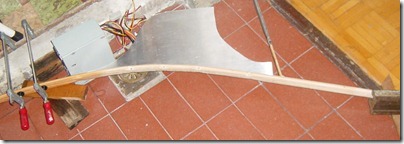
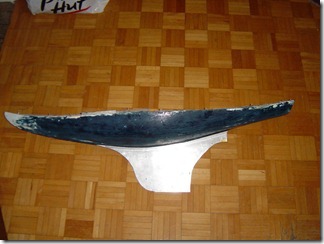
The Keel Aluminum attachment
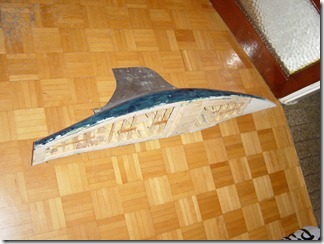
Wow fits well
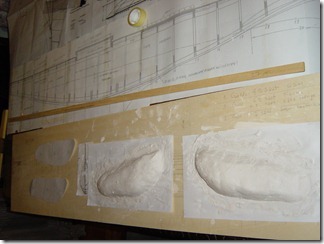
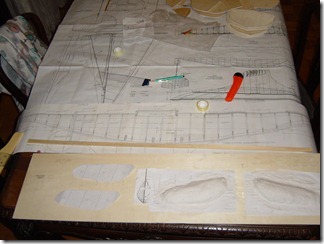
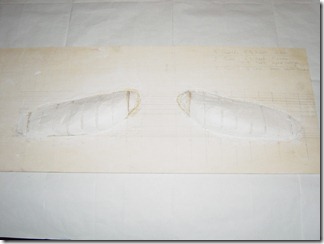
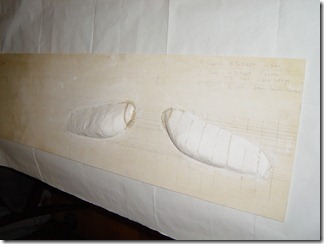
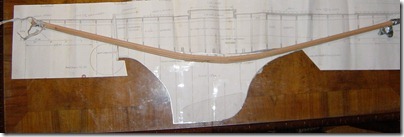
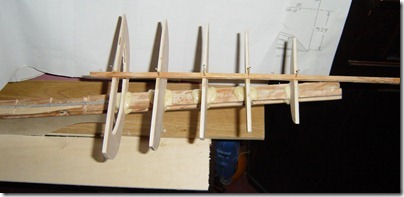
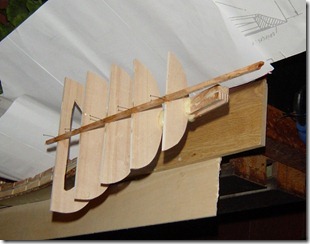
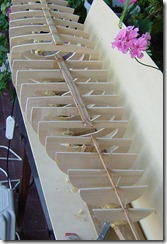
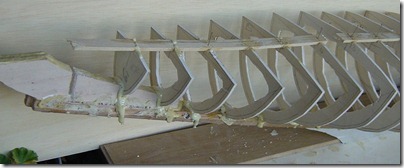
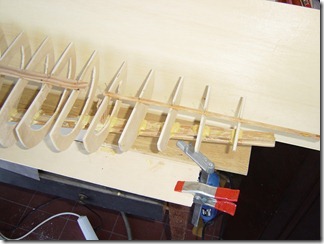
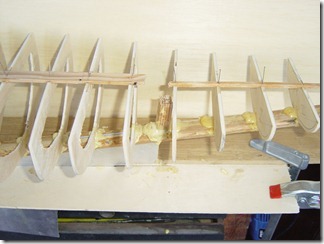
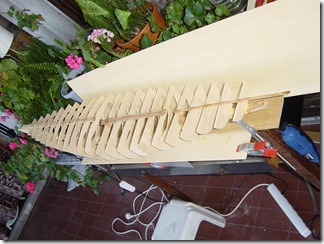
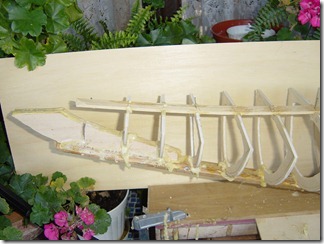
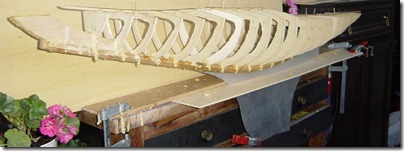
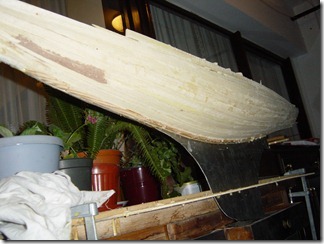
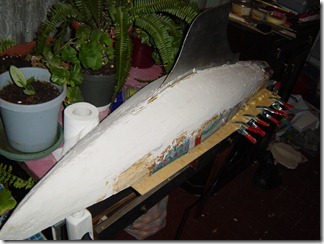
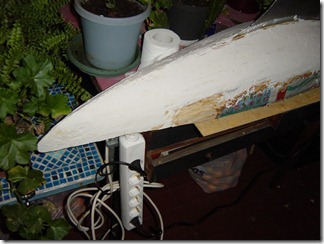
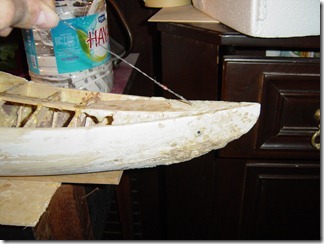
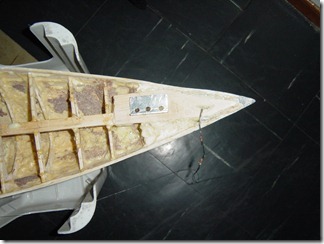
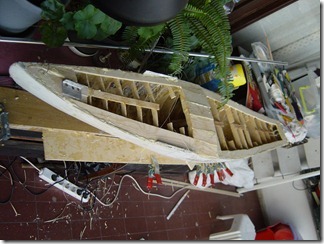
Starting with the body
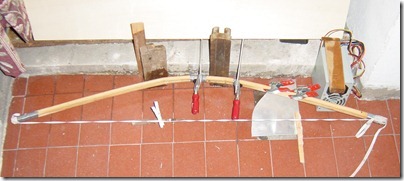
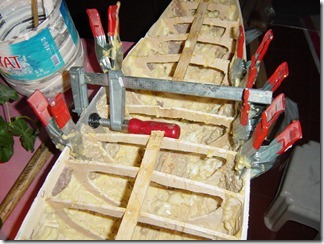
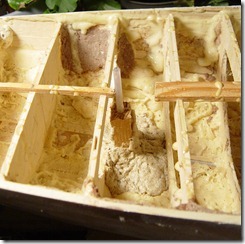
Next Photo is really time consuming. You can just glue 2 side panels per day.
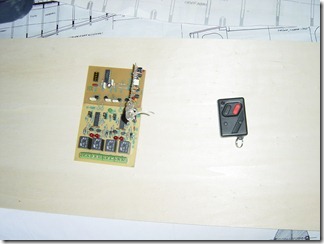
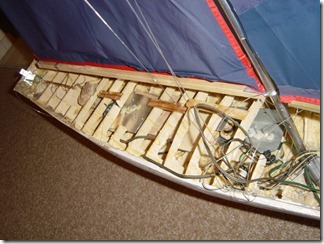
I just decided to use a 50 dolar remote car key to control the boat. 4 buttons are available. 2 used for rudder 2 used for sail trim. Works pretty well.
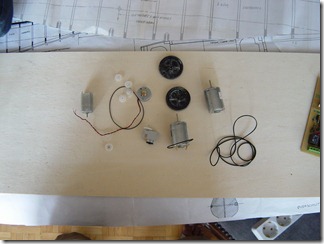
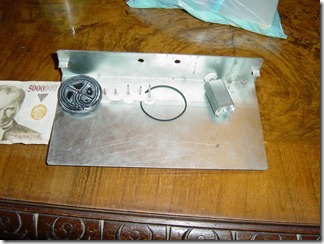
I also visited a old electronics shop. The stuff you see below are old cassette type recorder parts. Just paid a few dolars for all. Since the DC motor is turning very fact you have to reduce it considerably before applying to rudder. This is the way I made it. You can choose your own way ![]()
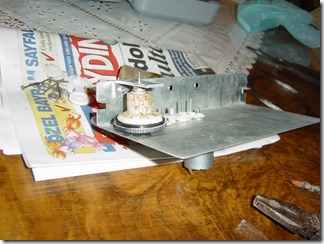
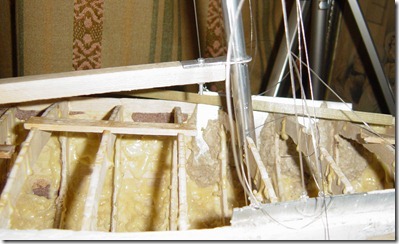
This will trim the sail. Yes it does ![]()
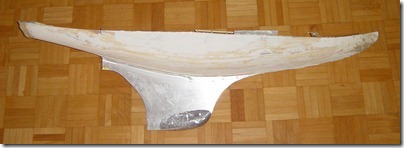
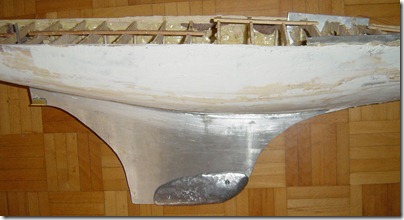
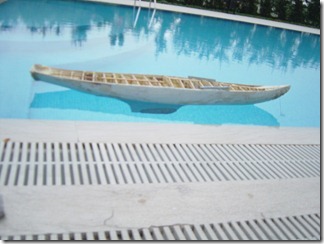
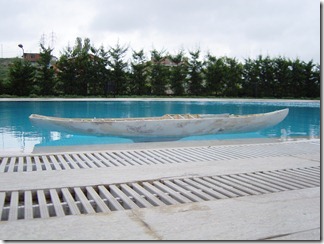
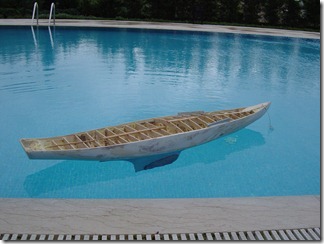
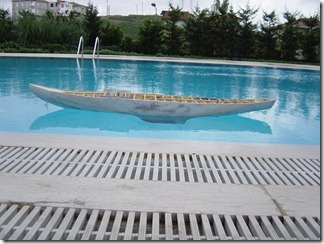
First test of the water line. Yesssss it is very well balanced. I was just wandering if the calculations made by the designer was right ![]()
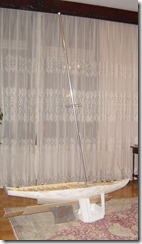
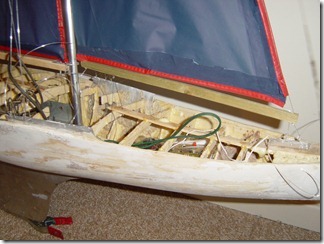
Sails are made. We are nearly done.
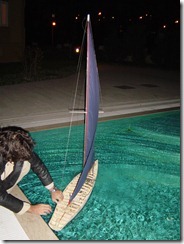
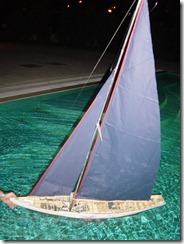
First water test. It was too windy to make a full test. Then I decided to do the testing after finishing the top cover.


